Let’s talk about something nobody ever thinks about until it’s too late: toilet bowl jets. Those mysterious little holes hiding under the rim of your toilet bowl might seem insignificant, but they’re actually the unsung heroes responsible for that satisfying swirl that sends everything down and away. When these jets get clogged, your once-mighty flush turns into a sad, weak swirl that leaves you reaching for the plunger way too often.
So what exactly are toilet bowl jets, why do they clog, and how can you restore them to their former glory? Let’s dive into this thrilling topic. (Don’t worry, we’ll try to keep the potty humor to a minimum. No promises though.)
What Are Toilet Bowl Jets and Why Should You Care?
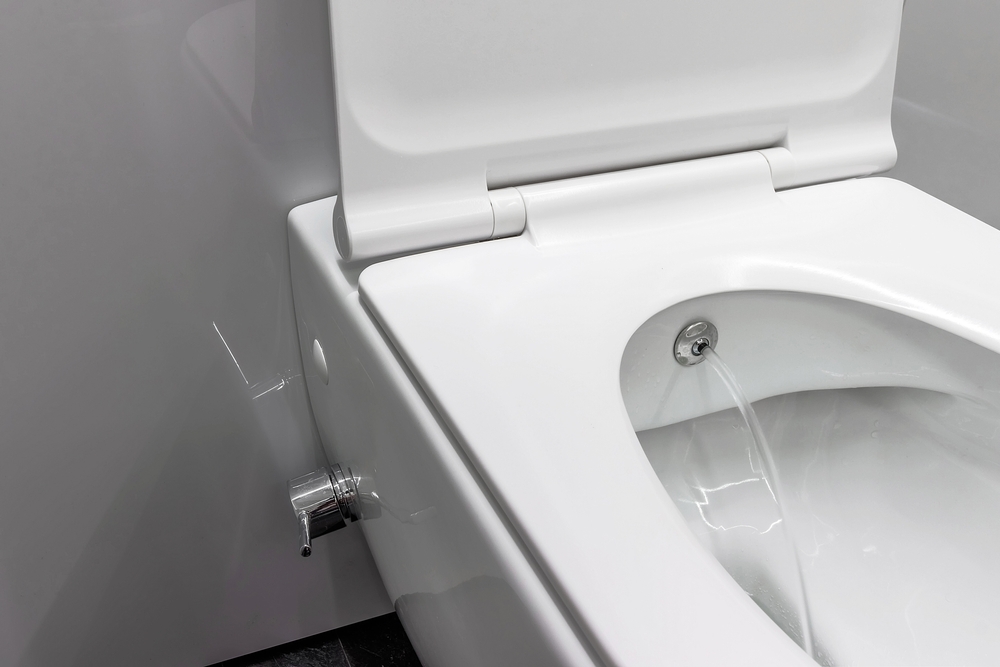
Under the rim of your toilet bowl are several small openings—typically between 6 and 14, depending on your toilet model. These humble holes direct water from the tank into your bowl in a specific pattern designed to create the centrifugal force needed for an effective flush. They’re like the precision nozzles on a fire hose, transforming ordinary water pressure into flushing power.
When these jets are clean, water shoots into your bowl with the enthusiasm of kids racing to an ice cream truck. But when they get clogged with mineral deposits, bacteria, or other gunk, that enthusiastic spray becomes more like a lazy dribble. The result? Weak flushes, recurring clogs, and that embarrassing scenario where you have to flush twice (or worse, grab the plunger while your dinner guests pretend not to hear from the dining room).
Why Toilet Jets Clog: It’s Not Your Fault (Well, Mostly)
The primary culprit behind clogged toilet jets is mineral buildup. If you live in an area with hard water, which includes most of Mid-Missouri, calcium and other minerals in your water are constantly depositing themselves in your pipes and fixtures. Over time, these minerals accumulate in those tiny jet holes, gradually narrowing the openings until water can barely squeeze through.
Other factors that contribute to jet clogs include:
- Bacterial growth: Those dark, damp areas under the rim are basically paradise for certain types of bacteria, which can form biofilms that restrict water flow
- Iron deposits: If you have high iron content in your water (common in well water), those rusty orange deposits can quickly build up in jet openings
- Cleaning product residue: Ironically, some toilet bowl cleaners can contribute to the problem if they react with minerals in your water to form new deposits
- The mysterious “other”: Let’s be honest, toilets see a lot of action, and sometimes unidentifiable debris finds its way into places it shouldn’t
Signs Your Toilet Jets Are Clogged (Besides the Obvious)
Not sure if your toilet’s jets are the problem? Look for these telltale signs:
The Uneven Flush
When you flush, water should flow evenly from all around the rim. If you notice it’s mostly coming from one side, or some sections have stronger flow than others, you’ve got partially clogged jets.
The Incomplete Swirl
A proper flush creates a strong, consistent vortex. If your toilet’s flush pattern looks disrupted or swirls weakly, clogged jets are likely the culprit.
The Persistent Bowl Stains
Those stubborn stains that keep reappearing in the same places? They might be areas where jets aren’t spraying properly to clean the bowl surface.
The Multiple-Flush Necessity
If your toilet regularly requires a second flush to get the job done (even when dealing with, ahem, modest deposits), your jets probably aren’t delivering enough water power.
The Visual Evidence
The most obvious sign: look under the rim with a small mirror. If you see white, orange, or green crusty buildup around the jet holes, or if the holes look smaller than they should, you’ve identified your problem.
The DIY Jet Cleaning Arsenal: Weapons for Waging War on Clogs
Ready to restore your toilet to its full flushing glory? Here are the methods that actually work, ranging from gentle to nuclear options:
Level 1: The Basic Vinegar Soak
For light to moderate mineral buildup, white vinegar’s acidity works wonders to dissolve deposits.
You’ll need:
- White vinegar (the cheap stuff works fine)
- A funnel
- Patience
Steps:
- Pour about 1 cup of vinegar into the overflow tube in your toilet tank (the tall open tube, usually in the center)
- Let it sit for 30 minutes minimum (overnight is better)
- Flush the toilet a few times to send the vinegar through the jets
- For extra credit, repeat the process with hot water to rinse
This method works because the vinegar travels the same path water takes to reach the jets, attacking deposits from the inside out.
Level 2: The Direct Assault
For more stubborn buildup, take a more targeted approach.
You’ll need:
- White vinegar
- An old toothbrush
- A small mirror
- Rubber gloves (because, well, it’s a toilet)
Steps:
- Shut off the water to your toilet and flush to lower the water level in the bowl
- Pour vinegar directly under the rim so it covers the jet openings
- Use the toothbrush to scrub under the rim, focusing on the jet holes
- Use the mirror to check your progress
- Turn the water back on and flush several times to rinse
Level 3: The Surgical Strike
When individual jets are seriously clogged, it’s time for precision tools.
You’ll need:
- A safety pin, wire coat hanger, or other thin poking implement
- Rubber gloves
- A small mirror
- A towel (for inevitable splashing)
Steps:
- Identify clogged jet openings using your mirror
- Gently insert your poking tool into each jet hole to break up deposits
- Work carefully—you want to clear the hole, not damage the porcelain
- Flush several times after cleaning
Warning: Be gentle! Aggressive poking can scratch the porcelain or damage the internal water channels.
Level 4: The Duct Tape Trick (Yes, Really)
This method seems weird, but it works amazingly well for severely clogged jets.
You’ll need:
- Duct tape
- White vinegar
- A turkey baster or a small cup
Steps:
- Shut off the water and flush to empty the bowl
- Dry under the rim with paper towels
- Cover ALL jet holes with strips of duct tape, pressing firmly to create a seal
- Pour vinegar into the overflow tube in the tank
- Let it sit overnight—the vinegar will be forced against the mineral deposits from behind
- Remove the tape and turn the water back on
- Flush several times to clear any loosened deposits
Level 5: The Nuclear Option
For the most stubborn cases, bring out the big guns.
You’ll need:
- Lime-Away, CLR, or another calcium/lime/rust remover
- Rubber gloves
- Eye protection
- Good ventilation
Steps:
- Follow the product instructions carefully
- These products are essentially stronger acids than vinegar
- Never mix with bleach or other cleaning products
- Rinse extremely thoroughly after use
Note: These products work well but can damage some finishes if left too long. They’re also not great for septic systems in large quantities.
Preventative Maintenance: Keep Those Jets Flowing
Once you’ve restored your toilet jets to their former glory, keep them that way:
- Regular vinegar treatments: Pour a cup of vinegar down the overflow tube monthly
- Consider a water softener: If you have extremely hard water, a whole-house water softening system can prevent mineral buildup throughout your plumbing
- Watch your cleaning products: Avoid products that might react with your water’s mineral content
- Periodic visual inspections: Check under the rim every few months to catch buildup before it becomes problematic
When DIY Falls Short: Time to Call in the Pros
Sometimes, despite your best efforts, toilet jet problems persist. This might indicate deeper issues within the toilet’s internal channels or problems with your water supply. Signs it’s time to call a professional:
- Jet cleaning provides only a temporary improvement
- Water pressure seems low throughout the bathroom
- Unusual noises during flushing or filling
- Visible damage to the underside of the rim
- Recurring backups despite clean jets
For Columbia, Missouri residents, Brian Wear Plumbing has specialized tools and techniques to address even the most stubborn toilet jet issues. Sometimes the problem extends beyond what DIY methods can fix, especially in areas with extremely hard water or older toilet models with complex internal passages.
The Bottom Line: Don’t Neglect Your Jets
Toilet bowl jets might not be dinner conversation material, but they’re essential to your bathroom’s functionality. A few minutes of maintenance every month can prevent the gradual decline in performance that leads to frustrating flushes and embarrassing moments.
Next time your toilet isn’t performing like it used to, look beyond the obvious and check those jets. Your toilet might just need the equivalent of clearing its throat to regain its powerful, authoritative flush.
And remember, in the world of plumbing, an ounce of prevention is worth a pound of… well, let’s just say it’s definitely worth avoiding emergency calls and awkward plunger situations when you have company over. If you do need more assistance, contact us at Brian Wear Plumbing today.

Click the button below to REQUEST a service appointment. Once your request is received, a customer service agent will contact you to confirm the scheduling.

Services Areas
Contact Brian Wear Plumbing Today
Feel free to give us a call today to schedule an appointment with a plumber in Columbia, MO, and the surrounding areas. Whether it’s doing drain line maintenance or preparing to replace sewer lines, you are going to be satisfied with our work.

")
If you are in Columbia, MO or the mid-Missouri area and believe you have a plumbing problem, contact us.