Let’s talk about the unsung hero of your bathroom—the toilet flapper. Never in the spotlight, never getting awards, but boy oh boy, when this little rubber diva decides to quit, your whole household feels the pain. From mysterious running toilets to water bills that make you question your life choices, a misbehaving flapper can turn your peaceful bathroom into a source of constant frustration.
What The Hell Is A Toilet Flapper Anyway?
For the blissfully uninitiated who’ve never had to think about toilet innards, the flapper is that rubber disc at the bottom of your toilet tank. Its job description couldn’t be simpler: lift up to let water flow during a flush, then settle back down to seal the tank so it can refill. That’s it. One job. Yet somehow, this basic rubber part fails more frequently than New Year’s resolutions.
Your flapper lives in a harsh environment—constantly soaking in water treated with chemicals while being yanked up and dropped down multiple times daily. So perhaps we should cut it some slack for its tendency to warp, crack, or generally give up on life after a few years.
Signs Your Flapper Is Secretly Plotting Against You
How do you know when your toilet flapper has gone rogue? Watch for these telltale signs:
The Phantom Flush
You’re alone in the house, minding your own business, when suddenly you hear the toilet refill without anyone flushing it. This isn’t a ghost—it’s your flapper slowly leaking, causing the water level to drop until the fill valve kicks in. These random refills can waste hundreds of gallons of water monthly while making you question your sanity.
The Handle Jiggle Dance
Having to jiggle the flush handle like you’re trying to pick a lock just to get the toilet to stop running is a classic sign of flapper problems. The chain might be caught under the flapper, or the flapper might not be seated correctly. Either way, if you’re doing the handle jiggle dance after every flush, your flapper is crying out for attention.
The Water Bill Heart Attack
Opened your water bill only to find it’s doubled without explanation? Before you start interrogating your teenagers about their showering habits, check your flapper. A leaking flapper can waste up to 200 gallons of water daily. That’s like flushing your toilet 50 extra times a day—or literally flushing money down the drain.
The Constant Background Hiss
That subtle but persistent hissing sound from your bathroom isn’t a gas leak or a lurking snake—it’s water continuously seeping past your failed flapper seal. This white noise soundtrack is your toilet’s way of saying, “Hey! Fix me already!”
The Great Flapper Replacement Operation
Ready to end the tyranny of your faulty flapper? Here’s how to swap it out without calling in reinforcements:
Step 1: Gather Your Supplies
You’ll need:
- A new flapper (bring your old one to the hardware store to match it, or check your toilet’s make and model)
- Towels (because water will go places it shouldn’t)
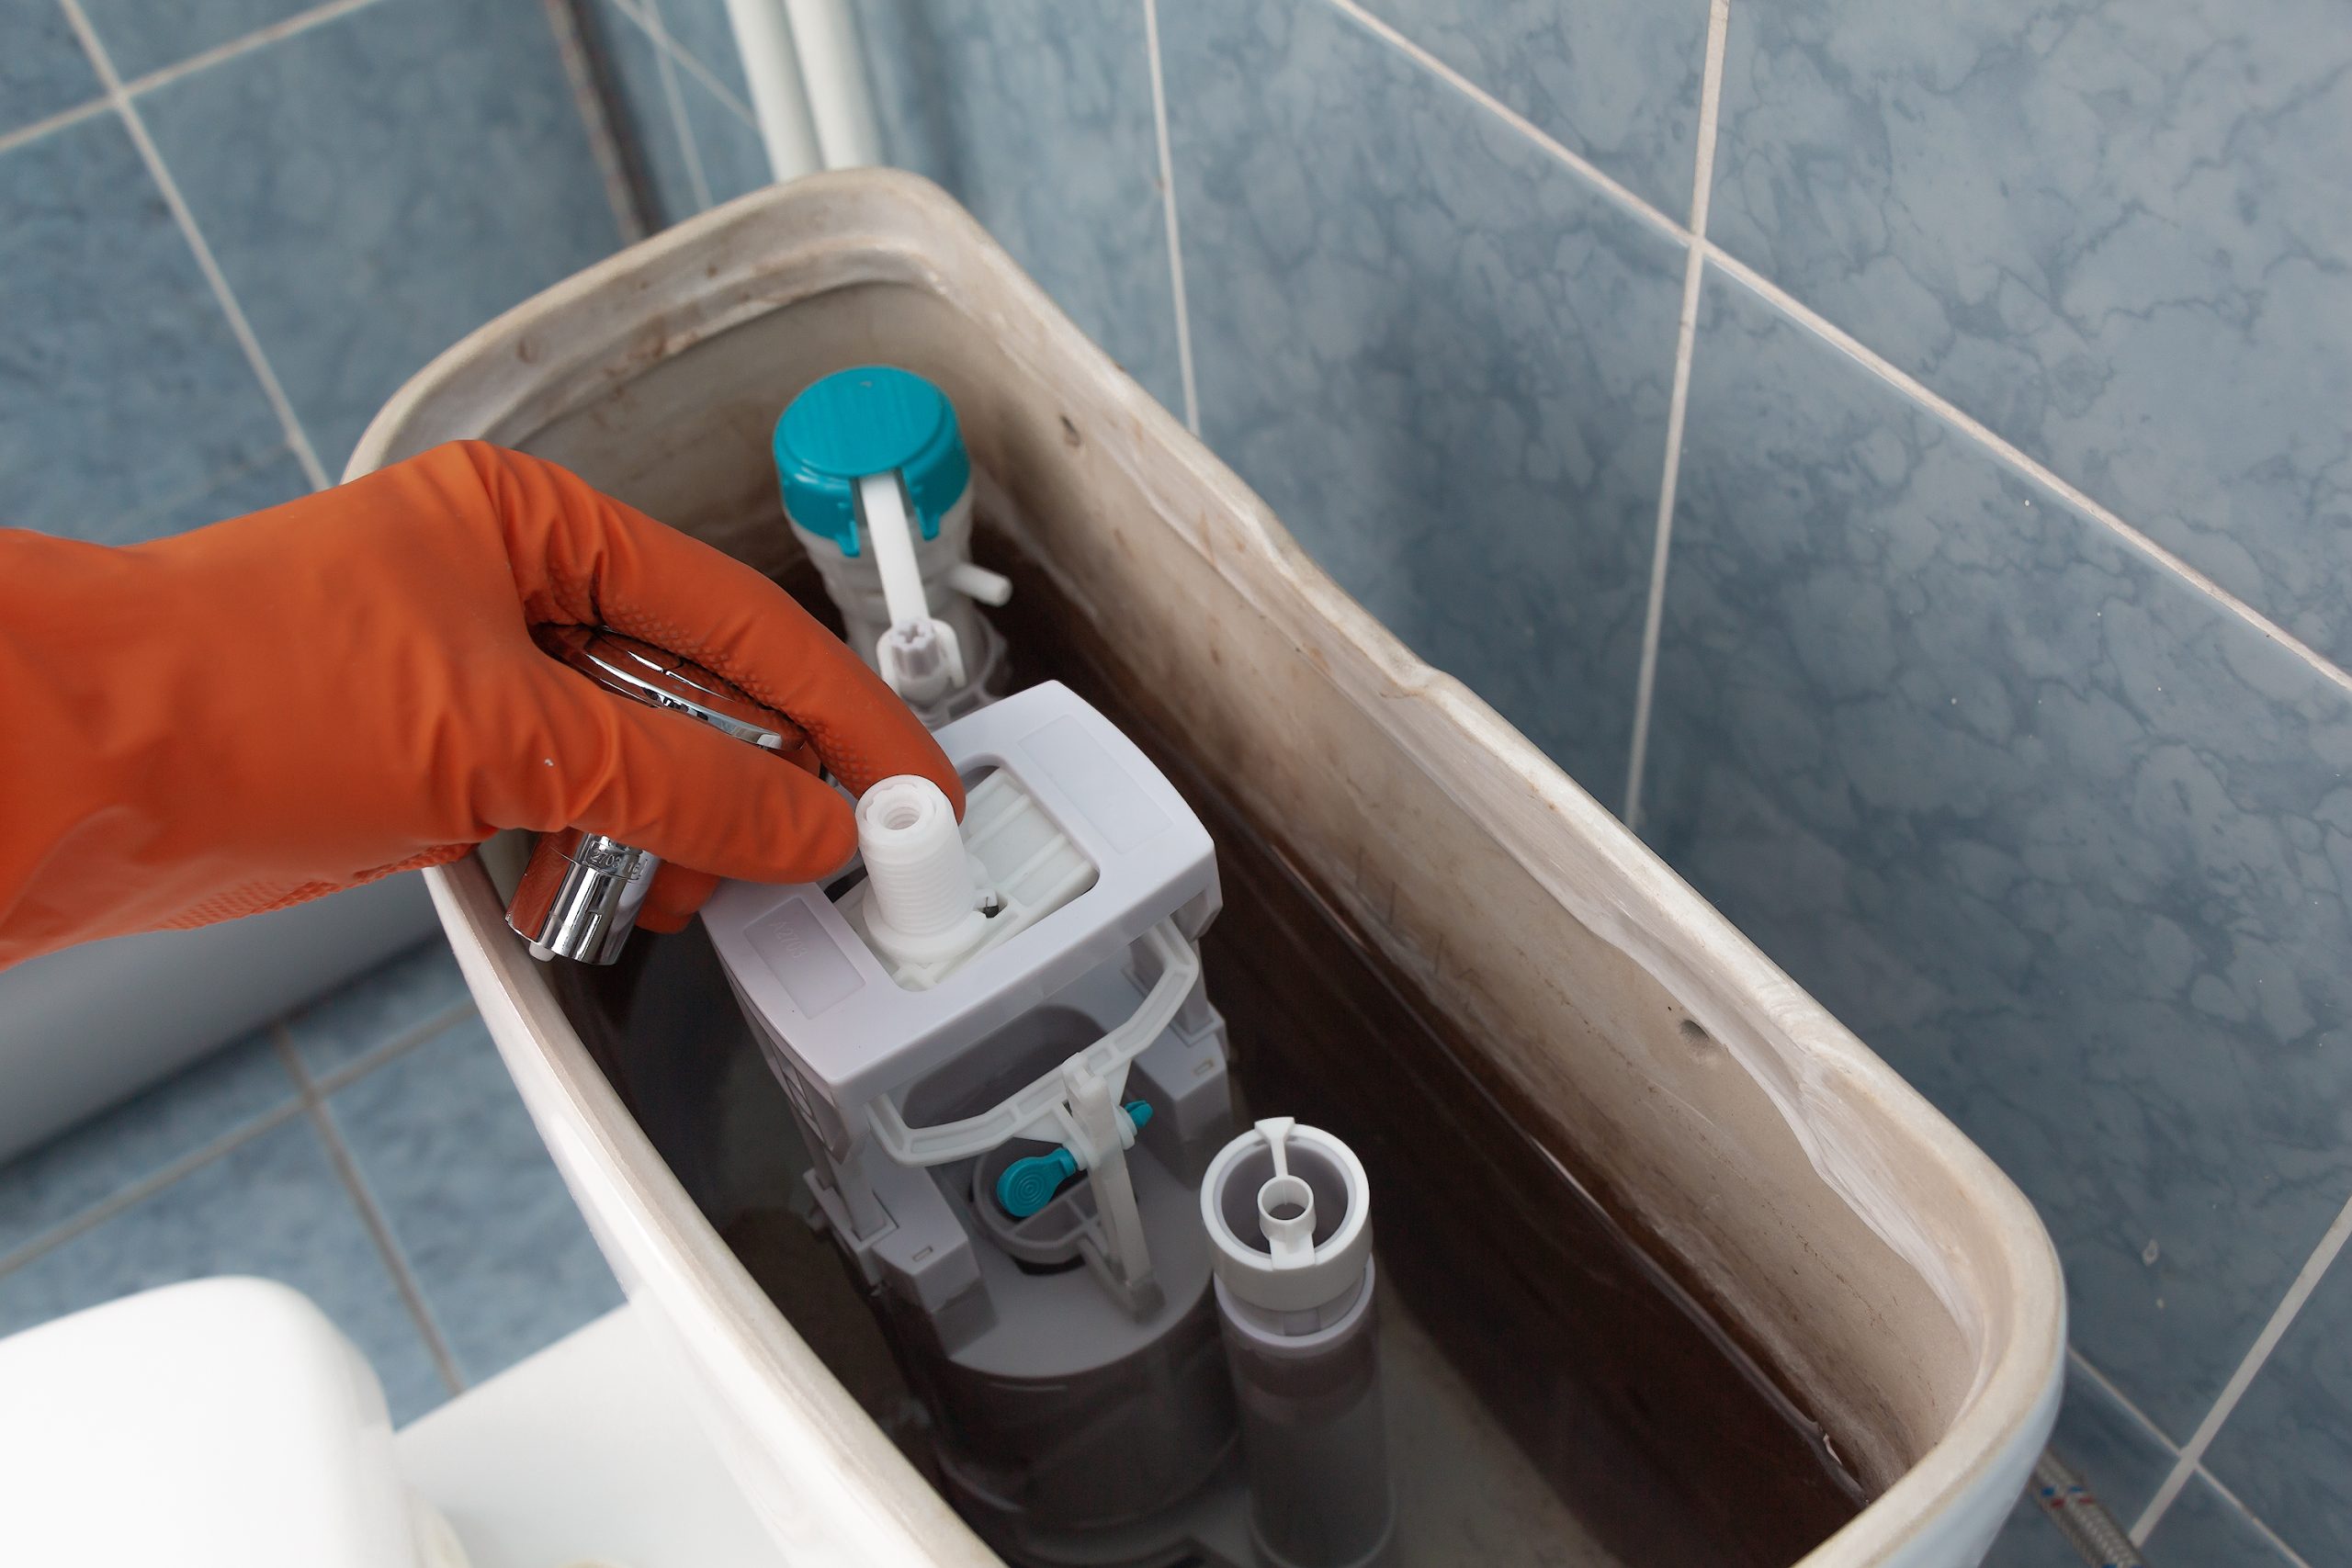
- Rubber gloves (because… it’s a toilet)
- A bucket or sponge
- Your phone to take “before” pictures (trust me on this one)
Step 2: Prepare the Battlefield
- Turn off the water supply to your toilet using the shut-off valve on the wall behind it. Turn clockwise until it stops.
- Flush the toilet to drain most of the water from the tank.
- Remove the tank lid and set it somewhere safe. These things are surprisingly expensive to replace and have an uncanny ability to crack if dropped.
- Take a quick photo of the current setup before disassembling anything. Consider this your “in case of emergency” reference guide.
Step 3: Out With the Old
- Disconnect the chain from the flush lever.
- Remove the old flapper by detaching it from the pegs on either side of the flush valve opening. Some flappers twist off instead.
- Try not to gag at the state of your old flapper. That black gunk and discoloration are normal, if disgusting.
- Take a moment to inspect the flush valve seat (the opening the flapper covers). If it’s rough, scratched, or has mineral buildup, clean it with a scouring pad. The smoother this surface, the better your new flapper will seal.
Step 4: In With the New
- Attach your new flapper to the pegs or twist it into place, depending on the style.
- Connect the chain to the flush lever, leaving about 1/2 inch of slack. Too tight and the flapper won’t seal; too loose and it might get caught underneath.
- Make sure the flapper is centered over the flush valve opening.
Step 5: Test Your Handiwork
- Turn the water supply back on and let the tank fill.
- Perform a test flush while the tank lid is still off so you can watch the action.
- Check that the flapper rises completely when you flush, then settles back down gently to create a seal.
- Put the tank lid back on and flush again to make sure everything sounds normal.
The Flapper Buying Guide: Not All Heroes Wear Capes
Standing in the plumbing aisle staring at 27 different flappers is a special kind of retail hell. Here’s how to pick the right one:
Know Your Flush Valve Size
Most toilets have a 2-inch flush valve, but some newer, high-efficiency models sport 3-inch or even 4-inch valves. Measure yours (or bring the old flapper with you) to avoid the walk of shame back to the hardware store.
Material Matters
- Rubber flappers are the traditional choice—inexpensive but prone to deterioration, especially in areas with heavily chlorinated water.
- Silicone flappers cost more upfront but resist chlorine and mineral buildup, potentially lasting 5+ years instead of 2-3.
Adjustable vs. Fixed
Some fancy-pants flappers allow you to adjust how long they stay open during a flush, controlling how much water is used. These are great for fine-tuning your toilet’s performance or reducing water usage in older, less efficient toilets.
Flapper Maintenance: Extending the Honeymoon Period
Want to make your new flapper last longer than the previous one? Try these tips:
- Drop the chemicals: Those blue toilet tank tablets might keep your bowl looking clean, but they’re murder on rubber flappers. Consider alternative cleaning methods.
- Regular inspections: Give your flapper a quick check every six months. Look for warping, discoloration, or brittleness.
- Clean it occasionally: Gently wipe mineral deposits off your flapper with a cloth. Just remember to turn off the water and flush first!
- Test for leaks: Put a few drops of food coloring in your tank (not the bowl). Don’t flush for 30 minutes. If color appears in the bowl, your flapper is leaking.
When DIY Goes Down the Drain
Sometimes, flapper replacement doesn’t solve the problem. If you’re still experiencing issues after replacing your flapper, it might be time to call in the professionals. For Columbia, Missouri residents. Brian Wear Plumbing has seen every toilet tank tragedy imaginable and can quickly diagnose more complex problems.
Signs you might need professional help:
- You’ve replaced the flapper, but the toilet still runs
- The flush valve seat is damaged or corroded
- Your toilet has some fancy mechanism that doesn’t match any YouTube tutorial
- Water is leaking from elsewhere in the tank
- You’ve spent more time with your toilet than with your family lately
The Bottom Line on Bottom Flappers
A properly functioning toilet flapper is one of those things you never appreciate until it fails. Taking the time to replace this inexpensive part can save hundreds on your water bill while protecting your sanity from the torture of constantly running toilets.
So the next time you hear that telltale hiss or find yourself doing the handle jiggle dance, don’t ignore it. Channel your inner plumber, replace that flapper, and restore peace to your bathroom kingdom. Your water bill—and your household—will thank you. If you need any help, contact us at Brian Wear Plumbing.

Click the button below to REQUEST a service appointment. Once your request is received, a customer service agent will contact you to confirm the scheduling.

Services Areas
Contact Brian Wear Plumbing Today
Feel free to give us a call today to schedule an appointment with a plumber in Columbia, MO, and the surrounding areas. Whether it’s doing drain line maintenance or preparing to replace sewer lines, you are going to be satisfied with our work.

")
If you are in Columbia, MO or the mid-Missouri area and believe you have a plumbing problem, contact us.